
Last updated November 4, 2026
 Wrought iron
 Wood & steel frame
 Farm & ranch
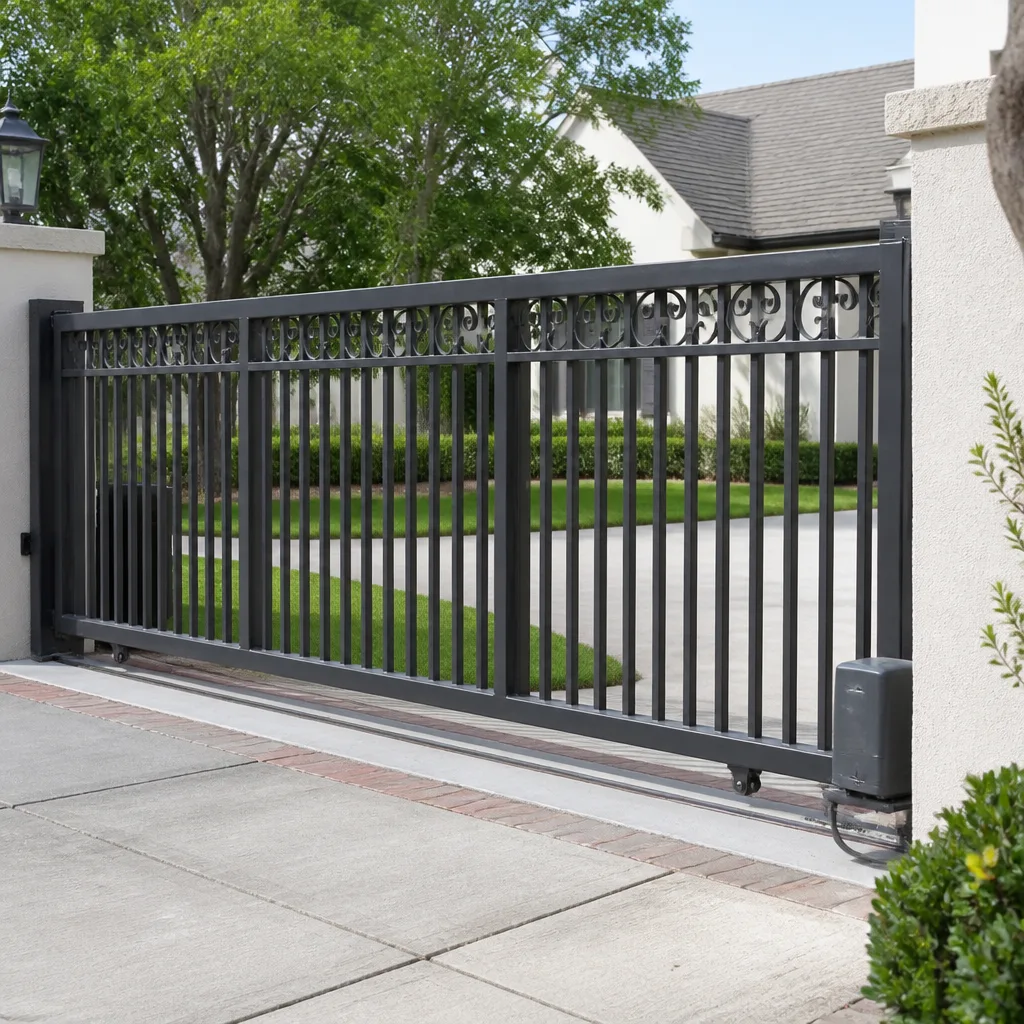 Sliding driveway gates
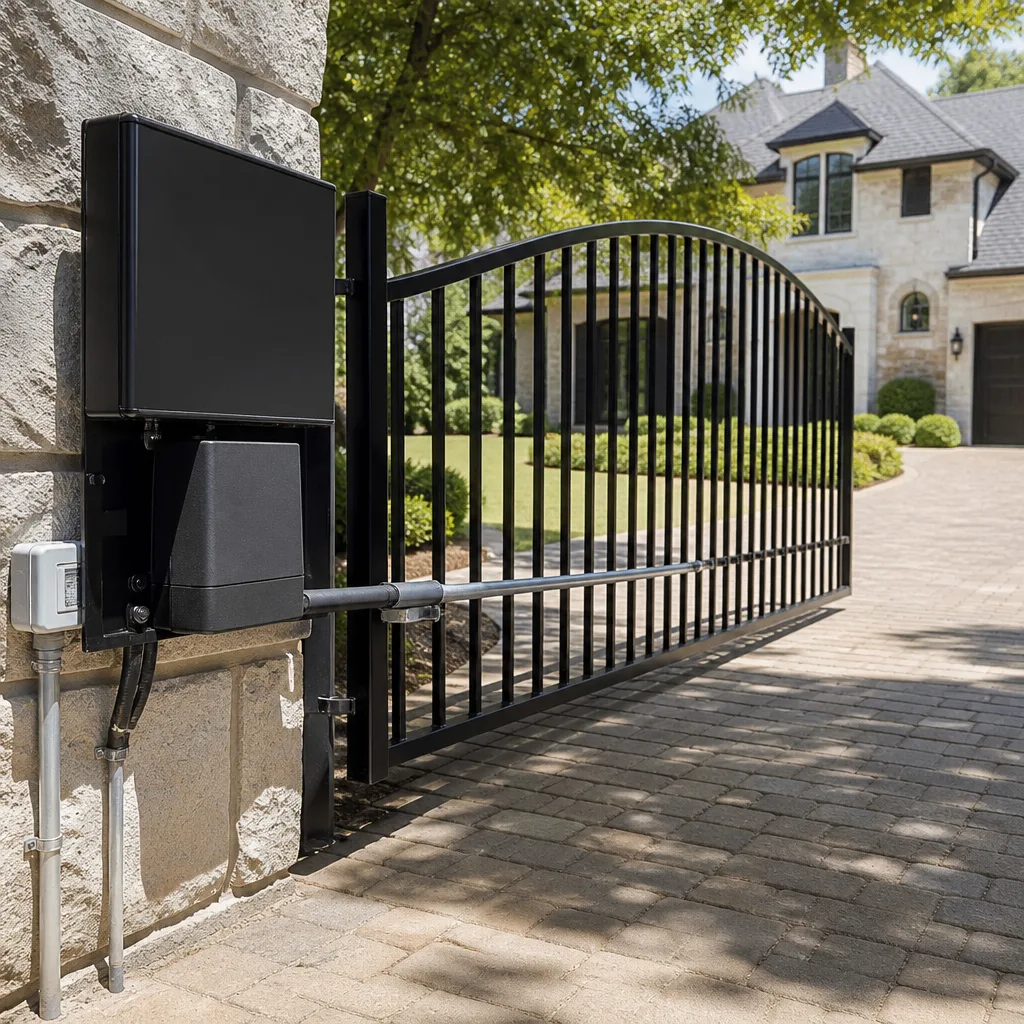 LiftMaster operators
Free on-site gate assessment - hinges, posts, and your LiftMaster or Nice gate operator checked before anything is quoted
The assessment is free and the quote is the invoice.
Get your free estimateGate Repair Maintenance Schedule: What to Do and When
Most gate failures in Perris don’t come from neglect in the way people assume. The real problem is wrong-interval maintenance, or worse, correct-interval maintenance done with the wrong products. Greasing nylon rollers on a slide gate is a classic example: the grease traps the fine, silty dust that blows through Perris from June through September, turning a lubricant into grinding paste that wears the roller down faster than if you had done nothing at all. A maintenance schedule that works here has to respect the movement type, the hardware material, and the dry summer dust season. This guide gives you a task-by-task calendar built around those three variables, plus clear guidance on what to keep lubricated, what to leave dry, and when a problem is beyond a homeowner’s scope.
Quick Answer
A gate maintenance schedule for Perris should be built around four inspection points per year: February, May, September, and November. In practical terms, you inspect hinges, tracks, rollers, and posts every season; you clean and test safety reversing sensors monthly; you lubricate metal-on-metal pivot points twice a year with a dry-style lubricant; and you replace desiccant packs, worn weather seals, and battery backup units on their own wear cycle rather than a calendar date. The full breakdown below tells you exactly what to do, what to skip, and what to leave to a professional.
Styles & brands we work with
- Wrought iron
- Wood & steel frame
- Farm & ranch
- Sliding driveway gates
- LiftMaster operators
Table of Contents
- Why Generic Checklists Fail Perris Gates
- Month-by-Month Maintenance Calendar
- What to Lubricate and What to Keep Dry
- Safety Reversing Sensors: Test Them Monthly
- Battery Backup and Solar Panel Maintenance
- Structural Inspection: Posts, Hinges, and Weld Points
- Common Mistakes to Avoid
- When to Call a Professional
Why Generic Checklists Fail Perris Gates
Pull up almost any gate maintenance guide online and you’ll get the same quarterly list: check hinges, grease rollers, test the motor, repeat. That list was written for a coastal or temperate climate, not for the inland valley conditions that define Perris. Three local factors change the maintenance math here.
- Dry summer dust, June through September. Perris sits in a semi-arid valley, and the summer months bring fine airborne dust that settles into every track, roller, and pivot point on a gate system. That dust acts as an abrasive. Anything you apply to a moving part becomes a dust magnet, and if the application is wet or greasy, it creates a slurry that accelerates wear.
- Wide daily temperature swings. Perris regularly sees daytime highs in the 90s and overnight lows in the 50s during late spring and fall. Metal expands and contracts. Hinge bolts work loose. Gate leaf alignment shifts slightly. Seasonal re-torquing is not optional here; it’s the difference between a gate that swings clean and one that drags on its post.
- Mild winters with one real concern: wind. Snow and ice are non-issues here, but the desert wind season from October through February puts lateral stress on gates, especially tall swing gates and older slide gates with worn rollers. Wind is often the trigger that turns a hairline weld crack into a full break.
The schedule below is not a copy of a garage door calendar. It’s built for how gates actually move in this climate, and it accounts for the brands we see most often in the Perris area, including LiftMaster, FAAC, BFT, Linear, Viking, Ghost Controls, DoorKing, Elite, and Mighty Mule. Electric or manual, the mechanical wear points are similar. The electronics need a different cadence, which we cover separately.
Month-by-Month Maintenance Calendar
Here is the calendar we recommend for Perris homeowners and property managers. It assumes a typical residential or light-commercial gate in daily use. If your gate cycles more than 20 times a day, double the mechanical inspection frequency. If it’s a weekend-use driveway gate, you can stretch some items, but never skip the sensor tests.
January: Walk the Full Gate Path
- Open the gate fully. Walk the entire path of travel with your eyes on the ground. Look for gravel buildup, vegetation, or debris that touches the gate at any point.
- Check the gate’s closed position. A gate that has begun to sag will show uneven spacing at the bottom rail versus the top rail.
- Test the safety reversing sensors on the automated system (we detail this process in its own section below).
- Spray dry lubricant on hinge pins and pivot bolts, wiping away any excess with a clean rag.
February: Post and Hinge Inspection
- Examine each gate post for cracks in the concrete collar or visible rust weeping from the base. Surface rust is okay; deep flaking is not.
- Check hinge welds with a flashlight. Run your finger along each weld to feel for hairline cracks. Look for rust staining that follows a crack line.
- Tighten hinge bolts to the manufacturer’s torque spec. For most swing gates that is snug plus a quarter turn, not overtightened.
- Clean the track on slide gates with a dry brush. Do not use water; it pools in track recesses and invites rust.
March: Electronics and Operator Inspection
- Open the operator cover. Look for spider webs, ant trails, and rodent droppings. Operators in Perris attract desert vermin that chew low-voltage wiring.
- Check the control board for burnt spots, bulging capacitors, or discolored terminals. Do not touch any terminal with fingers. Visual only.
- Test the manual release mechanism. On most LiftMaster, FAAC, and BFT units, this is a pull-cord or keyed release. It should move freely without binding.
- Cycle the gate three times. Listen for changes in motor pitch, grinding, or a slower-than-normal travel speed. A motor that strains on a cool morning and sounds fine by afternoon is a warning sign.
April: Gate Leaf Balance and Alignment
- Disengage the operator and move the gate by hand. It should move smoothly through the full arc or track length without catching.
- If the gate drifts on its own in either direction, the post is out of plumb or the ground has settled. This is repairable now and expensive to fix in six months.
- Check the gap between the gate leaf and the post. It should be consistent from top to bottom. A narrowing gap means hinge wear, post lean, or both.
- Re-engage the operator and set the open and closed limit positions, if applicable on your unit.
May: Pre-Summer Dust Prep
- Apply a dry film lubricant to chain drives, pivot points, and hinge pins. Wipe everything dry so there is no tacky residue.
- Replace or clean the operator’s air filter or vent screen if it has one. Dust is about to be at its worst.
- Check weather stripping and brush seals at the bottom of the gate. Compressed or torn seals let more dust into the track zone.
- Test the battery backup, if your system has one. You want to know now, before the blackout season hits later in the year.
June through September: Dust Season Watch
- Every two weeks: wipe down exposed chain drives, rollers, and tracks with a dry microfiber cloth. Do not add more lubricant during this stretch; you’re removing dust, not treating wear.
- Monthly: re-test the safety reversing sensors. Heat and dust cause false trips and misalignment.
- Monthly: inspect the operator’s cooling fan or vent openings. A fan clogged with Perris dust overheats the control board.
- If you hear grinding or squealing from a roller or track, do not add oil. Call for a gate repair inspection instead. The wrong lube makes it worse.
October: Post-Summer Cleaning
- Deep-clean the track on slide gates with compressed air or a dry brush. Remove all accumulated dust before the wetter months arrive.
- Re-lubricate metal-on-metal points with a dry lubricant. This is the second of your twice-yearly lubrication passes.
- Inspect the operator’s internal components again. Look for dust caked onto the transformer, capacitor, or motor windings.
- Check all wiring connections for looseness. Vibration from daily use works terminals loose. A loose neutral wire causes intermittent failures that are difficult to diagnose later.
November: Wind Season Structural Check
- Re-check all hinge bolts, post anchors, and weld points. Wind season is when stressed metal fails.
- Test the gate’s travel under wind load. If the gate bounces, flexes, or shudders when a gust hits, that movement is propagating cracks.
- Check that the gate’s stops and mechanical limits engage solidly. A gate that slams into its open stop is doing damage every cycle.
- If your gate has a drop bolt or lock, verify it throws fully into the receiver. A partially engaged lock is the number one reason wind storms bend gate leaves.
December: System Review and Battery Check
- Run the gate through 10 full cycles while watching and listening. Any change from earlier months is a data point to record.
- Test the battery backup again. Cold desert mornings reduce battery capacity, and you want a full charge before the new year.
- Review your notes from the past 12 months. If you found the same issue twice or made a repair twice, it’s time to call a specialist for a deeper look.
- Schedule a professional service visit if anything remains unresolved. The calendar above catches most things, but trained eyes catch what checklists miss.
This calendar is designed for the climate and usage patterns we see across Perris properties. Adjust for your specific gate style and cycle count, and you’ll catch most failures before they interrupt your day.
What to Lubricate and What to Keep Dry
This distinction causes more self-inflicted gate damage in Perris than any other maintenance error. Some components need lubrication; some need to stay absolutely dry. Using the wrong product is a mechanical problem, not just a cosmetic one.
Lubricate these parts twice a year (May and October):
- Metal hinge pins and pivot bolts. Use a dry film lubricant or a light machine oil. Apply, work the gate through its range, then wipe off everything that remains visible. The lube belongs inside the joint, not on the outside where dust collects.
- Chain drives on slide gates. A light coat of dry lubricant reduces tooth wear on the sprocket. Do not soak the chain.
- Latch and lock mechanisms. A quick spray of graphite or dry PTFE lube keeps the bolt throwing cleanly through all seasons.
- Threads on manual release mechanisms. These corrode slowly and then fail exactly when you need them during a power outage.
- Nylon or polymer rollers. These are self-lubricating by design. Adding grease or oil just gives dust a place to stick, and the resulting slurry wears the roller quickly. If a polymer roller is squealing, the bearing is worn. Replace it.
- Rubber and brush seals. Lubricants break down rubber compounds. Clean them with soap and water, rinse, and let dry.
- Control boards, transformers, and terminals. Never spray anything into an operator housing. If the board is dirty, use compressed air at low pressure. We’ve seen contact cleaners destroy board coatings.
- Tracks on slide gates. Tracks do not get lubricated. They get cleaned. A lubricated track means every dust particle in Perris sticks to it.
- Gate leaf surfaces. Nothing good comes from oiling painted steel or aluminum. Clean with mild soap and water, then dry.
- Confirm the sensors are aligned. Most sensors have LED indicator lights. Both lights should be solid, not blinking. A blinking light usually means misalignment or an obstructed beam.
- Open the gate fully, then send it closed with the remote or keypad.
- Place a solid object in the gate’s path. A traffic cone or a 5-gallon bucket works well. Position it so the gate will contact it partway through the closing cycle.
- Watch for reversal. The gate should hit the object and reverse immediately, without pressing hard. If the gate pushes the object farther than a few inches before reversing, the sensitivity is set too high.
- Test the secondary edge sensor if your gate has one. The rubber edge strip on the leading edge of the gate should reverse the gate with minimal pressure. Press it with your hand while the gate is closing.
- Repeat the test from the opposite side. A sensor that works when approached from one direction may fail from the other, especially on swing gates with dual leafs.
- Record the date and result. A simple note on the operator housing or in your phone keeps you honest about monthly testing.
- Locate the battery. It’s typically in a separate enclosure, not inside the operator itself. If you can’t find it, the manual has a parts diagram. Do not guess.
- Simulate a power outage. Turn off the circuit breaker that feeds the gate operator. The gate should respond identically to when it’s on utility power.
- Cycle the gate five times on battery alone. Listen for the motor lagging or the gate moving slower on cycle four or five. The battery should hold consistent performance through the test.
- Restore power. The battery should begin recharging automatically.
- Record the date and performance. Batteries don’t fail on a schedule. They fade. Your records tell you when fade starts.
- Wipe the panel surface monthly during dust season. A dry microfiber cloth removes the film without scratching the glass. Do not use paper towels.
- Check the panel angle. Perris gets generous sun. The panel should be angled toward true south at whatever tilt the manufacturer specifies for your latitude. A panel that has shifted flat loses charging efficiency.
- Inspect the wire run from panel to charge controller. Sun exposure and vermin chewing degrade insulation over time. Look for exposed copper, nicks, or brittle insulation.
- Check the charge controller indicator lights. Any abnormal light pattern is a prompt to call us before the battery drains fully.
- Check post bases. Look for cracks radiating in the concrete collar, soil pulling away from the post, or rust staining at ground level. Any of these indicates the post is moving under load.
- Check hinge welds. Wipe each weld clean and inspect with a flashlight. A hairline crack catches the light differently. Rust bleeding from a weld line is a sign the crack has started to corrode internally.
- Check hinge pins for wear. The pin should be round and smooth. A flattened or grooved pin means the hinge has worn past its service life and is working the post with every cycle.
- Check gate alignment. Stand at the latch end and sight down the top rail of the gate. It should be a straight line. A bow or curve means the gate has taken a hit or has been flexing in wind for months.
- Check the ground clearance. The gate should clear the ground by a consistent margin. If one end is lower, the hinges are failing on that side, or the post is leaning.
- Check slide gate rollers. The gate should ride on the rollers with even contact. A roller that is loose, wobbling, or visibly worn is transferring stress to the track and the operator.
- Lubricating nylon and polymer rollers. These are sealed and self-lubricating. Grease or oil only creates a grit-trapping surface that grinds the roller from the outside in. If a polymer roller squeals, replace it, don’t oil it.
- Applying WD-40 to everything that moves. In our experience, this is the single most common homeowner mistake on gate hardware in this area. WD-40 is a water displacer, not a durable lubricant, and it attracts the exact dust that causes the problem.
- Skipping sensor tests because the gate “seems fine.” A gate can operate normally for months and still fail a reversal test. The monthly sensor test is not about the gate’s performance; it’s about safety.
- Ignoring a gate that is slightly out of level. A quarter-inch sag today becomes a full gate replacement in two years if the post has worked loose. Minor level problems are a symptom, not a quirk.
- Recharging a battery that needs replacing. If a sealed lead acid battery is more than five years old and fails the five-cycle test, it’s dead. Recharging it is a temporary patch that fails during the next outage.
- Using water to clean tracks. A garden hose into a slide gate track washes dust into places it wouldn’t naturally settle, and the lingering moisture causes rust. Dry brush or compressed air only.
- Doing your own electrical work inside the operator. The operator housing contains line voltage. Opening the cover to clean is fine in visual-only mode. Touching terminals, rewiring anything, or bypassing a sensor is not a homeowner task in our view. Call us at (866) 569-6762 for any electrical work inside the operator.
Keep these parts dry, always:
For every commercial-grade or residential operator we service, including old DoorKing and Elite slide units, the same rule applies: if it’s electrical, keep it clean and dry. If it’s mechanical metal-on-metal, keep it lightly lubricated and dust-free. The most common call we get after a homeowner “did maintenance” is a gate that runs worse than before. Almost every time, the cause is grease where grease doesn’t belong.
Safety Reversing Sensors: Test Them Monthly
Automated gates must reverse when they encounter an obstruction. The sensor system that makes that happen is the same safety net that protects children, pets, and vehicles in a driveway. Testing it is a 5-minute job, and it should happen every month, not once a season. Here’s the step-by-step test for the common sensor systems on LiftMaster, FAAC, BFT, Viking, Ghost Controls, and Mighty Mule operators.
If the gate fails the reversal test, do not operate it until the sensor system is corrected. This isn’t a “do it yourself when you get around to it” issue. A gate that doesn’t reverse is a serious hazard. Call electric gate repair for service, and tell the technician exactly what the test showed. The specificity saves a diagnostic visit.
Battery Backup and Solar Panel Maintenance
Battery backup units and solar-powered operators have their own maintenance cadence, and it is not the same as the mechanical calendar above. Most battery units are maintenance-free sealed lead acid or lithium. The maintenance task is testing and replacement, not water top-off or cleaning terminals. Solar panel maintenance is minimal but real in a dusty environment.
Battery Backup: Seasonal Testing
Most sealed lead acid backup batteries need replacement every three to five years. Lithium units last longer, but any battery that cannot complete five cycles on backup power in the test above is due for replacement. If you’re unsure whether to replace or recharge, call us and we’ll test it on site.
Solar Panels: Clean and Check
Ghost Controls and Mighty Mule units are popular for residential solar gate systems here, and both use a similar charge controller architecture. The failure point is almost always the connection, not the panel itself. Loose MC4 connectors and corroded wire splices cause more solar gate failures in Perris than dead panels ever do.
Structural Inspection: Posts, Hinges, and Weld Points
A gate is a heavy moving object attached to a stationary anchor. The two points where forces concentrate are the hinge and the post base. Catching problems at these points before they become visible failures is what separates a 20-minute repair from a full post replacement. Here is the structural checklist we use, and you can do the visual portion yourself.
None of these checks require specialized tools. A flashlight, a clean rag, and ten minutes will catch most structural problems while they are still repairable without a crane. If you find anything on this list that looks wrong, do not wait. A gate that fails structurally can fall, and a falling gate leaf is heavier than a full-grown adult.
Common Mistakes to Avoid
When to Call a Professional
Most of the items on this maintenance schedule are straightforward for a homeowner who is comfortable with a wrench and a flashlight. But there are specific situations where we recommend stopping and calling a gate specialist instead. If the gate fails a sensor reversal test and the problem is inside the operator, call. If you find a crack in a hinge weld or a post that is visibly moving, call. If the motor overheats, trips a breaker, or makes a grinding noise that persists after track cleaning, call. If you have a solar system that isn’t holding charge and the panel, controller, and connections all look fine, the fault is likely in the charge logic or battery chemistry, and those are specialized diagnostics.
Gate Repair Perris offers free estimates in Perris, and our experience across LiftMaster, FAAC, BFT, Linear, Viking, Ghost Controls, DoorKing, Elite, and Mighty Mule systems means we diagnose by brand, not by guesswork. Call (866) 569-6762 for your free estimate.
See the difference
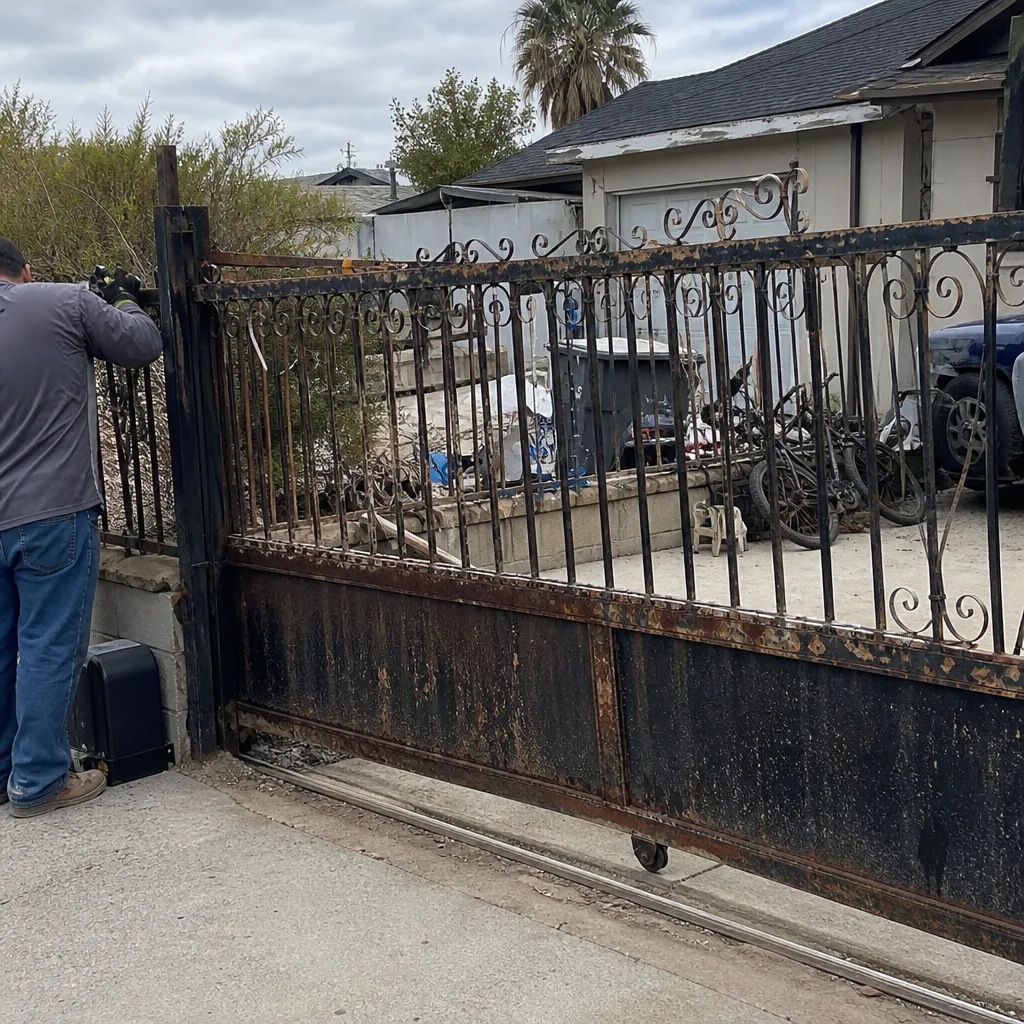 Before
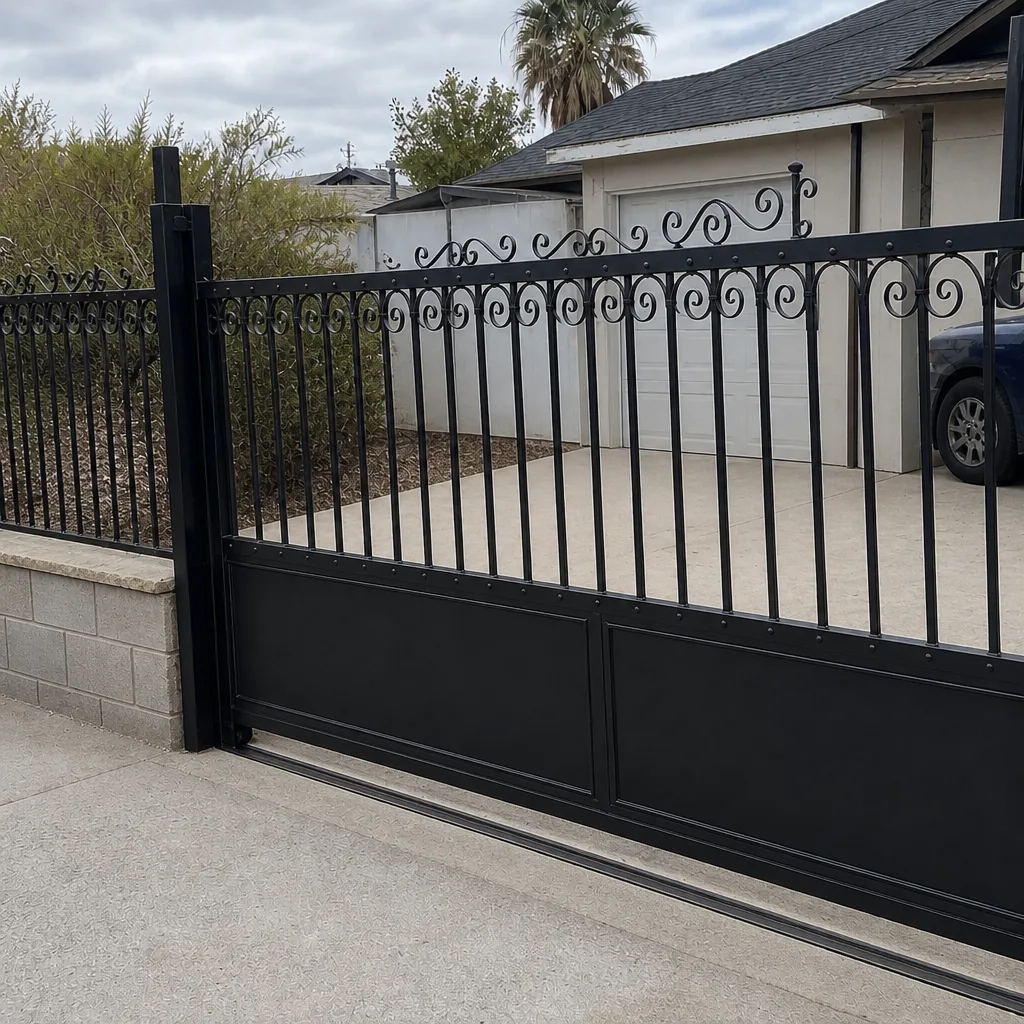 After
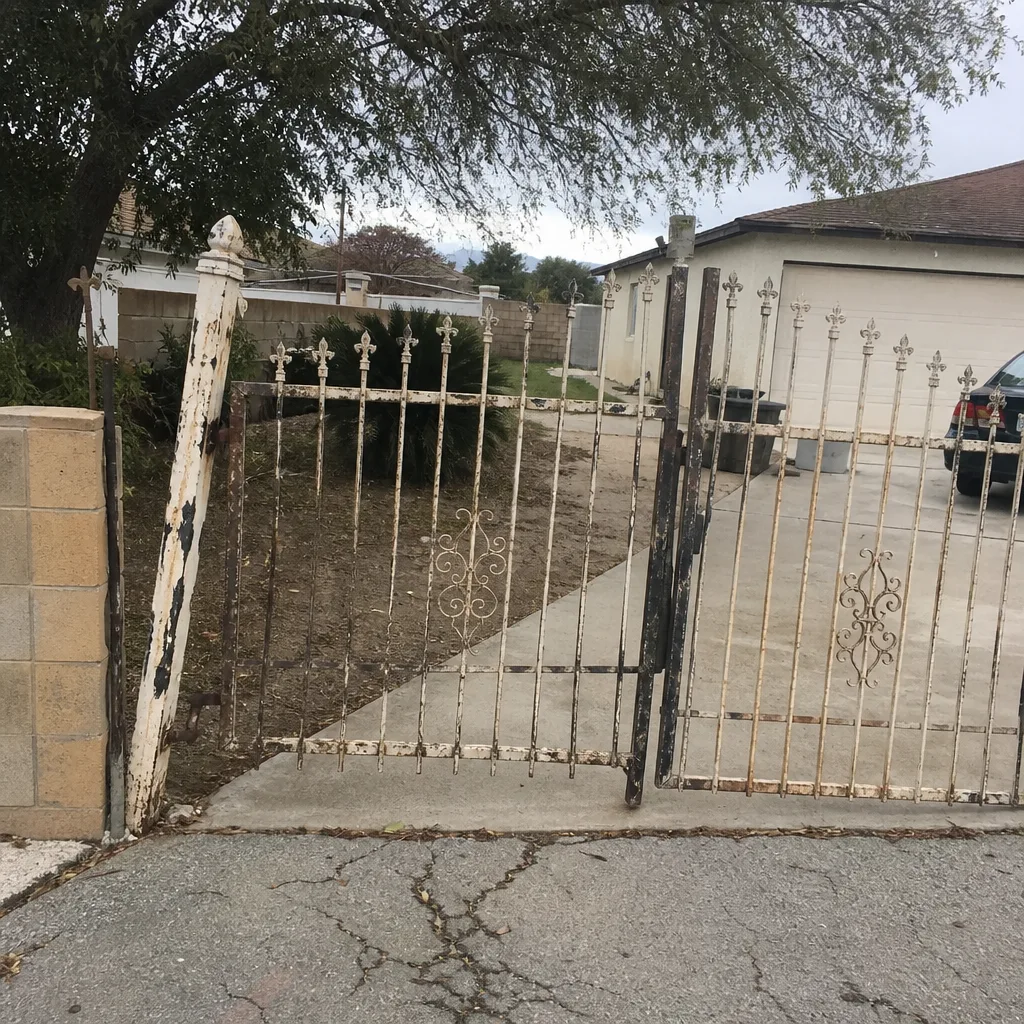 Before
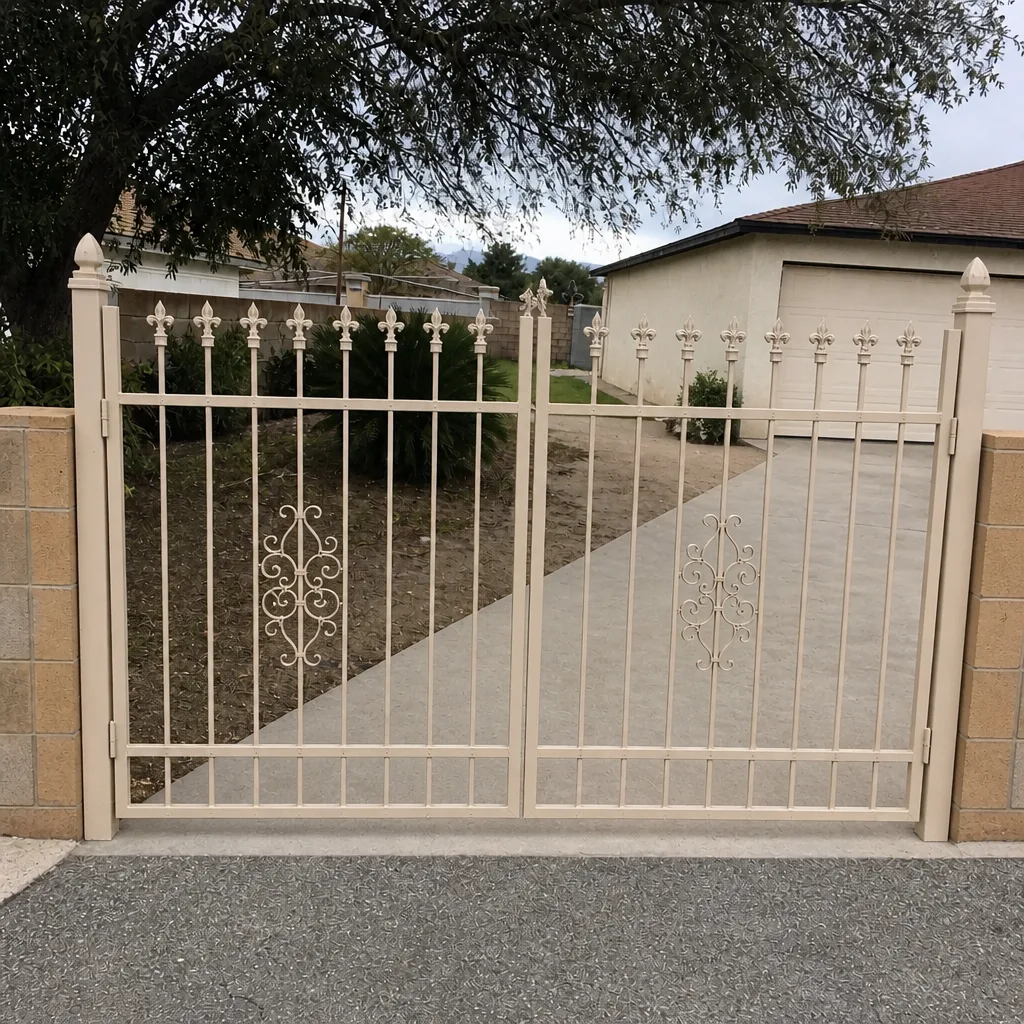 After
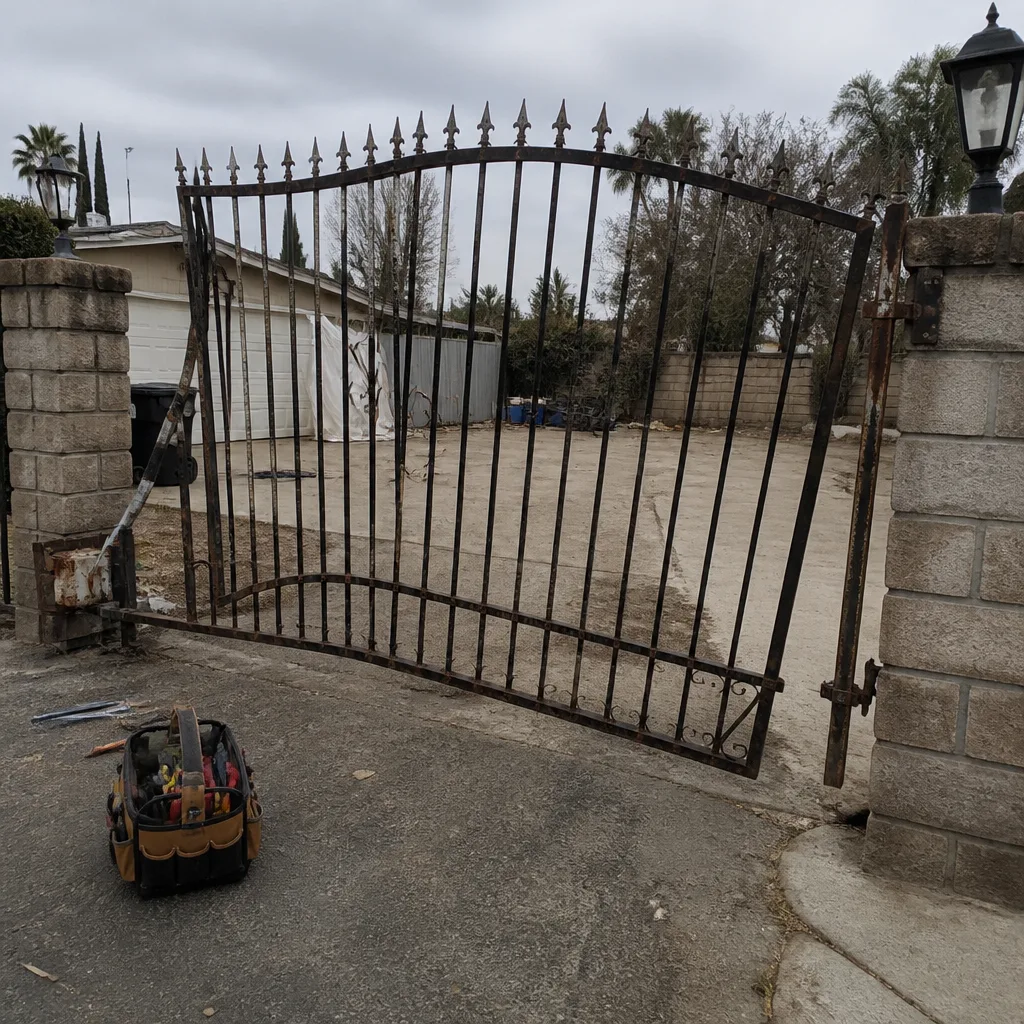 Before
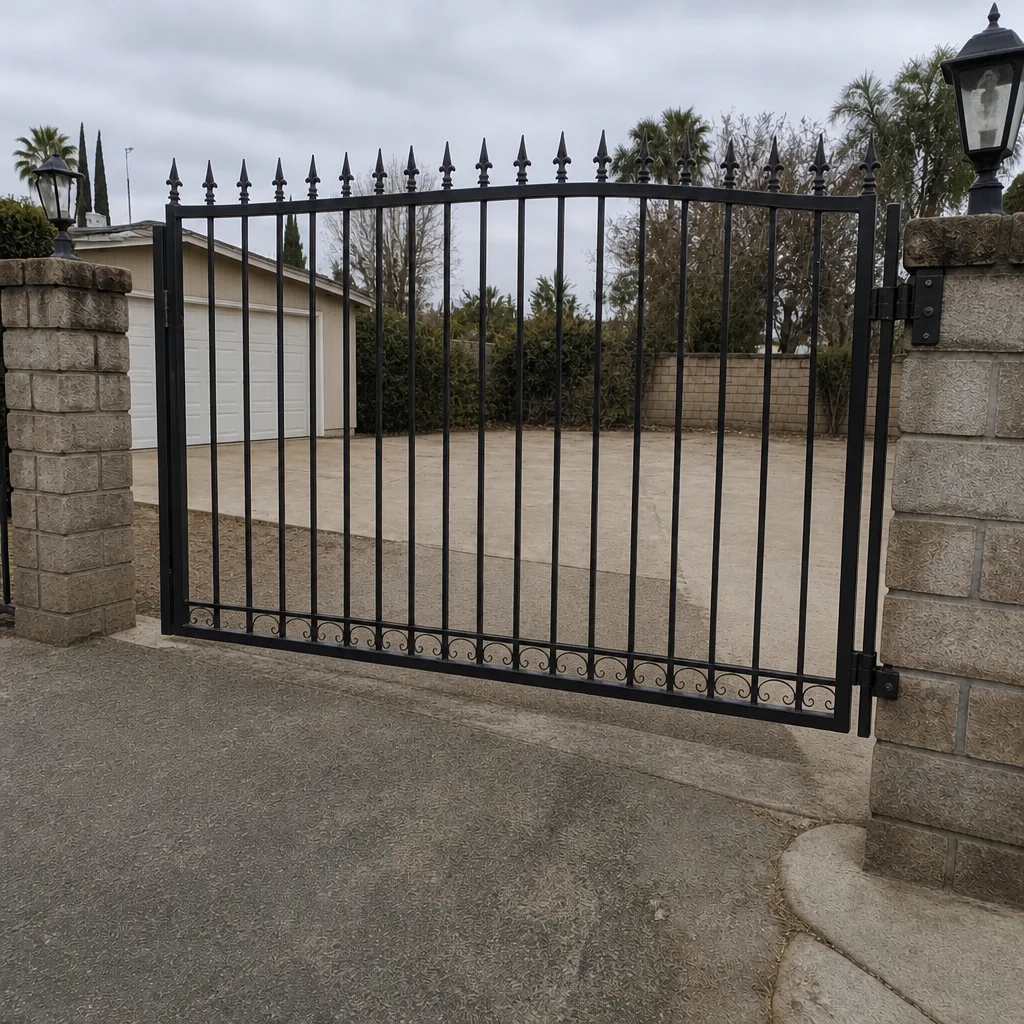 After
Frequently Asked Questions
A gate in Perris should be inspected at a minimum every three months, with monthly safety sensor tests and twice-yearly lubrication passes for metal pivot points. The dry summer dust season from June through September justifies a lighter cleaning pass every two weeks on track and roller surfaces. A professional inspection once a year catches what routine checks miss.
The most common gate failure we see in Perris is track and roller wear accelerated by summer dust, followed closely by sensor misalignment from heat expansion and wind-driven gate flex. Slide gates in older neighborhoods with unpaved shoulders tend to collect more dust and fail earlier than gates on clean concrete aprons.
Yes, the visual inspections, cleaning, and lubrication tasks in this guide are designed for a homeowner. The line is drawn at anything involving line voltage inside the operator, weld repair, or post stabilization. Those tasks require a gate specialist with the right tools and training.
Maintenance costs vary by gate type, operator brand, and the condition of existing hardware. A basic inspection and lubrication pass on a standard swing gate typically runs in the $120 to $250 range, while a full-service visit that includes sensor calibration, battery testing, and track cleaning on a slide gate can run $250 to $450. We quote every job by written estimate before work starts, and the estimate is free. Call (866) 569-6762 for an exact figure on your gate.
Only if they are metal-on-metal wheels. Nylon and polymer rollers are self-lubricating and should stay dry. If a polymer roller is noisy, the bearing inside is worn and the roller needs replacement. Adding lubricant to a polymer roller causes worse performance, not better.
Test it by turning off the circuit breaker and cycling the gate five times on battery power alone. If the gate slows down, stops mid-cycle, or cannot complete five cycles, the battery is no longer holding a full charge. Sealed lead acid batteries typically last three to five years in Perris’s heat. Lithium units last longer. When in doubt, call (866) 569-6762 and we’ll test the battery on site.
The Bottom Line
A maintenance schedule only works when it matches the actual conditions of the gate: how it moves, what it’s made of, and the climate it works in. Perris gates face a dry dust season that punishes wet lubricants, wind months that stress posts and hinges, and temperature swings that work fasteners loose. Follow the calendar in this guide, keep the wrong products away from the wrong components, and test your safety sensors every month. You’ll catch most failures early, extend the life of your operator, and avoid the emergency call that starts with a gate lying in the driveway. For anything beyond a routine check, Gate Repair Perris is here with free estimates. Call (866) 569-6762. We answer 24/7. Fast dispatch from 7am to 7pm, Sunday through Friday.
Written by the team at Gate Repair Perris, serving Perris since 2012.